Pork Cheeks, Spinach and Champ

Pork Cheek, Spinach and Champ

Helen and I have a shared calendar which appears on both our phones. It makes for amusing moments when I get an alert that I have a hair appointment on Friday evening or that I have drinks with ‘the girls’ on Wednesday night…

Even with our synchronised diaries (although I should point out it’s mostly me trying to keep up with her more sociable lifestyle) I constantly get surprised.

And so, I lovingly made this dish last week, starting the cooking the night before only for my phone calendar to remind me she was having dinner with a friend that night. Worse, the venue was the sort of place with more microwaves than hob rings. Humph.

Undeterred I made this anyway and I’m glad I did, as was Helen when she returned having only eaten half her nuked dinner 😉

Pork cheeks are another one of those slow cooked, cheap-as-chips cuts that deliver massively on flavour. I really should have learned from Conor’s advice about publicising this sort of thing for economic reasons though.

I braised the cheeks in cider and stock in a casserole pot on a low heat the previous evening and warmed them back through the day I served them. Most of the cooking liquor had concentrated up nicely and they were naturally melt-in-the-mouth tender.

Champ is an Irish recipe for mashed potato, using butter, milk and spring onions. Strangely, I’d only recently come across it and I’m glad I did. I did a little research and cobbled this together from a few sources. I hope it’s fairly authentic…

Serves 2

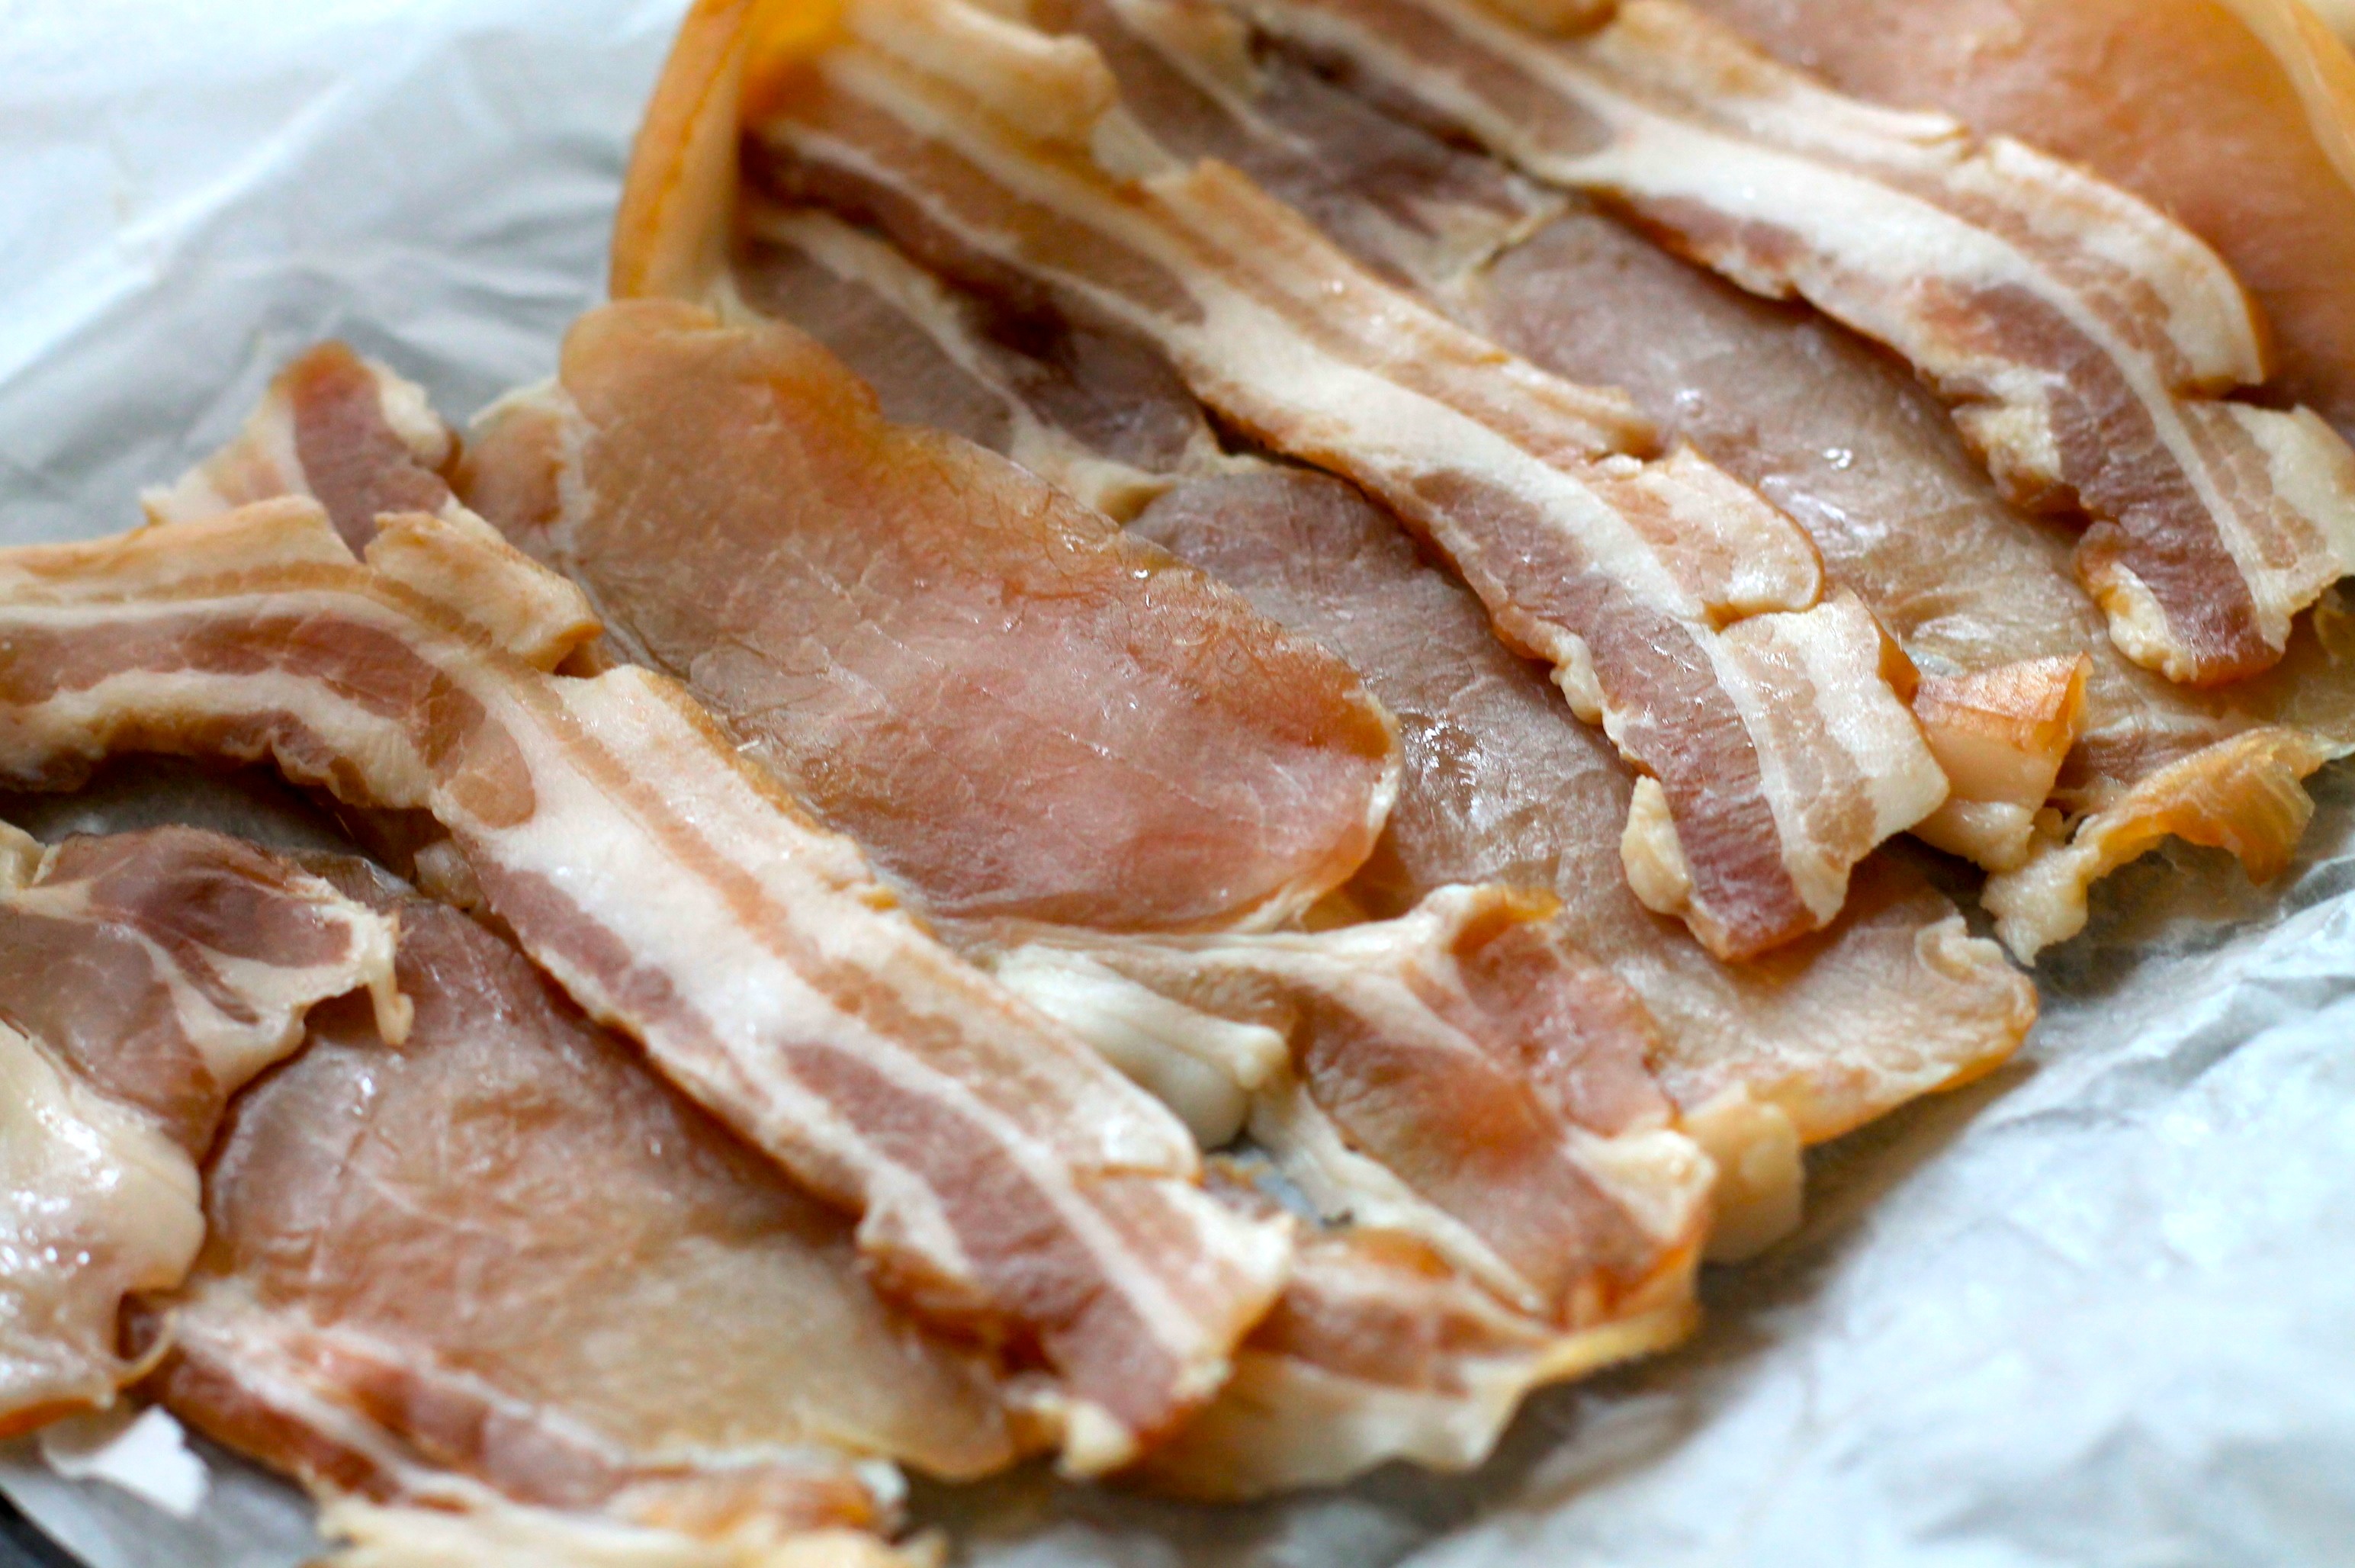
  • 500g pork cheeks, trimmed and sinews removed
  • 1 bottle (500ml) good dry cider
  • 250ml chicken stock
  • A medium carrot, 1 stick of celery (snap in two)  and half an onion
  • 4 garlic cloves
  • Pepper
  • A little oil
  • 4 large handfuls of spinach

For the Champ:

  • 2 large floury potatoes, peeled
  • 3 spring onions/scallions finely chopped
  • About 50ml whole milk, warmed
  • 1-2 tbsp butter
  • Salt and pepper to taste

Spring Onions

Start by frying the pork cheeks in an ovenproof pan or casserole pot until well coloured. Deglaze with a little cider and add the vegetables. Add the rest of the cider and stock and place in an oven at about 140°C/275ºF for 5 hours at least. Leave to rest overnight.

Pork Cheeks

The next day, reheat the pork cheeks on the hob. Reduce the liquor down if needed with the lid off, until the flavours concentrate – taste as you do. Strain and reserve the cooking liquid as a nice gravy and keep warm. A knob of butter stirred in at this stage is a delicious, if unhealthy addition 😉

Quarter and boil the potatoes (15min). Then, drain and mash, using a potato ricer if possible, melt in the butter and then the warmed milk, until smooth but not too ‘wet’. Finally, stir in the spring onion. Season with salt and pepper to taste. Keep warm.

IMG_8366

Lastly, wilt the spinach in a large shallow pan with a little boiling water for a couple of minutes. Remove and squeeze the excess water out using a sieve and the back of a large spoon (or in your hands).

Serve it all up and enjoy.

IMG_8379

Advertisement

Steamed Open Dumpling Dim Sum

Open Steamed Dumplings
I have tons of cookery books, a cupboard full of everything from £1.99 bargains through  TV chef spin-offs to the bible that is La Gastronomique and I can say that I under-use all of them. I tend browse for the basics and then go…freestyle. With mixed results its fair to say

Now, I make a fair bit of Chinese food during the week as it’s fast, and (providing you watch the oil) healthy. The only problem I have is that I can’t say I’ve nailed a recipe or particular dish in the same way I can make, for instance, specific pasta dishes, they tend to be concoctions of whatever I have in the fridge. This was different though – I got the iPad (other tablets are available…) edition of Ken Hom’s Complete Chinese Cookbook recently and was keen to try his recipes with the ingredients as instructed. Being a big fan of dim sum thought I’d try the relatively straightforward open steamed dumplings. Although the implementation probably wavered a bit, I used the ingredients as Mr Hom instructed and they were delicious.

I bought in the wanton cases as we were in the local Chinese supermarket recently. They keep brilliantly in the freezer but there’s nothing too hard about making them. The recipe quoted about 40, but I in fact made 20 presumably large versions. They didn’t seem so big, so who knows, but it didn’t seem to matter. I served them up with a dipping sauce made from soy sauce, chilli oil, dried chilli flakes, sugar and ginger. I kind of did it off the cuff, so don’t remember the proportions, but it was very much ‘to taste’ anyway!

I made my own mince using some good quality belly pork as Mr Hom specified fatty pork mince. I just blitzed it in the food processor and it worked nicely.

So, via Ken Hom’s Complete Chinese Cookbook:

  • 100g/4oz uncooked prawns
  • 350g/12oz pork belly, minced or food processed (or fatty pre-minced pork)
  • 2 tbsp bacon lardons
  • 100g/4oz water chestnuts, tinned. Well rinsed.
  • 2 tsp ginger, finely chopped
  • 3 tbsp finely chopped spring onion
  • 2 tsp sesame oil
  • 1 tbsp light soy sauce
  • 1 tsp dark soy sauce
  • 1 tbsp dry sherry.
  • 1 egg white
  • 2 tsp sugar
  • 1 tsp salt and a twist of black pepper
  • 20 wanton skin

Defrost the wanton wrappers at room temperature if needed. This takes a surprisingly short amount of time.

Prepare the pork by mincing or blitzing the pork belly in a processor. Finely chop the prawns and bacon and vegetables.

Open dumplings vegetables

Then, simply place the the whole lot into a bowl and mix very thoroughly.

Spoon a couple of teaspoons of the mixture onto the middle of a wanton wrapper.

Dim Sum Preparation

Bring up the sides, pinching firmly and turning as you do to make the open wrapping. Tricky – I’m sure practise makes perfect!

IMG_6480

Boil a little water in the bottom of a steamer. Use the bottom of the steamer insert and cut out some greaseproof paper to line the inside. I used a skewer to push though the holes to let the steam through.

Place the dumplings in, not too tightly packed, and steam for about 15 minutes. I used a probe to check the temperature in the middle and they were well done by this time, but may need longer – the recipe said about 20mins.

Open steamed dumplings in steamer

Repeat in batches until all done!

Really Quick Pork and Beans Chilli

Pork and Bean Chilli

Sometimes, but only sometimes mind you, a meal just comes together completely unplanned and turns out better you’d expected.

Last night was the end of a very long week and I’d planned to phone out for pizza to be honest. But, after a quick route forage through the fridge, freezer and cupboard (much to Helen’s despair – the kitchen was immaculately tidy until then) I came across these ingredients and the “pork and bean chilli” was ‘on’.

I had some minced pork in the freezer and chorizo, which to be honest I always seem to have, in the fridge. I added a lot of chilli to this though as I had quite a few to use up that were beginning to look a little long in the tooth. I’m not one of those pretentious guys who insist on sweating and wincing their way through a meal if it involves chilli as some form of ‘test’, but occaisionally I’m in the mood!

I used a carton of pasata for speed along with chipotle sauce and some sweet smoked paprika for a rich smoky background. I realised after these are most of the flavours in pulled pork – maybe that was the secret….

300g pork mince
100g chorizo. Skinned, halved and thinly sliced.
1 garlic clove
2 green chillis, sliced thinly – seeds and all plus extra to serve.
1 heaped tsp sweet smoked paprika
1tsp cumin, ground
1 tbsp brown sugar
1 tbsp chipotle sauce
1 onion, halved and thinly sliced.
1 can mixed beans, drained and rinsed
1 can pasata (400g)
Salt.

In a large pan, simply fry off the garlic, onions and chilli and continue until the onions have softened. Add the pork and chorizo and brown nicely

Next put in the paprika, cumin, and beans and stir well.

Cover with the pasata, a little water,  the sugar and chipotle sauce and simmer for a few minutes with the lid off.

Serve with rice and extra sliced chilli ( 😉 )

Pork and bean chilli chipotle

Sarah’s Homecured Bacon

Our good friend Sarah visited us over Christmas and came armed with all sorts of great stuff to eat, including her latest batch of homemade bacon.

Now, in an attempt to reverse the effects of the sheer volume of pork products we got through over the festive break, we’ve decided to go vegetarian for January. More on that later of course.

So, as a last hurrah to 2012, I got Sarah to send over the basic recipe she followed which is itself based on a recipe by Hugh Fearnley-Whittingstall.

The skill is to cure the meat thoroughly, but without making it too salty, which I think she achieved nicely here. So, you’re left with the satisfaction of homemade bacon without the added water and added preservatives.

There are many versions out there but the basic method followed was:

Take a suitably sized piece of belly pork with the loin still attached. Score and pierce the rind and rub in plenty of salt, paying attention to the nooks and crannies. Leave it on a rack for 24 hours with a plate underneath in a cool place (but not the fridge).

Water will be drawn out of the meat into the plate so pour it away and reapply the salt.

Repeat for about 5 days.

After that, rinse the salt off thoroughly. Sarah said she soaked the meat for a couple of hours to help keep the saltiness down. Leave to dry.

It’s then ready to slice – she has a home slicer which makes it much easier! Of course there are other cures with ketchup, brown sugar, berries etc to experiment with.

Image

Pork and Apples

I apologise that this is not a particularly adventurous dish, but it’s always a winner and a quick, healthy (if you use lean meat) and inexpensive mid-week meal.

I used the last of the apples from the garden in this, using both the hob and the oven to cook them with the pork. The pork can be tricky to cook without drying out, so I’m a fan of using an oven proof frying pan to seal the meat and then finish in the oven more gently. Chops on bone or with a decent amount of fat work best as they are less prone to drying out and generally have more flavour, but I’ll leave that to you!

Serves two.

Ingredients:

  • 1 tspb oil
  • 2 pork chops
  • 1-2 small apples cored and chopped into 2cm cubes
  • 200ml Chicken stock
  • Salt and Pepper
  • 2 Sage leaves
  • Boiled new potatoes and steamed vegetables (I made broccoli and cauliflower) to serve.

Method:

Preheat the oven to 180ºC (Gas 4)

Using the base of a metal steamer, put the potatoes on to boil. I used new potatoes in skins.

Get the pan pretty hot with the oil and add the seasoned pork chops. Move them around at first.

Add the apples to let them caramelise a bit. Turn the pork chops over after a minute or two, they should be well browned by now. Place the sage leaves at the bottom of the pan and put the whole thing in the oven for 10 minutes or so. A kitchen thermometer is very handy here to check it’s cooked through without overdoing it.

Take the pork out of the oven once done and leave to rest on a plate covered with foil.

Start steaming the broccoli and cauliflower over the boiling potatoes – they’ll only take five minutes or so. Check on the potatoes first though and remove them with a slotted spoon if done already (leaving the water in the pan to steam the vegetables!)

Put the frying pan back on the hob – (being careful of the oven-hot handle!) and deglaze the pan with the stock. Let it reduce with the apples and sage for a few minutes.

Get the plates ready with the vegetables and pork. Season the apple reduction if necessary and pour over the pork. Simple and delicious with a side of mustard.

Image