“Italian” Sausage Pappardelle

IMG_7131

Ahh, spring is nearly here. The sounds of lambs bleating to their anxious mothers across dewy fields. Birds calling for a mate in budding trees above the flowering crocus and snowdrops.

Well, no. The apocalyptic scene below, my friends, is my local coast and is all down to one stubborn mother of a blocking anti-cyclone somewhere off the Scottish coast according the good people at BBC weather. And we’ve had it lightly by all accounts. I’ve no doubt the snow-bound residents of Ireland, Dumfries and Galloway or Yorkshire would rather like this delinquent weather system to ‘block off’. Fairly quickly.

photo-2

I’m getting fed up of winter fires and ‘comfort food’, whatever that means – I want sunshine, barbecues, seafood in a busy cafe. For the first time in my life I’m becoming worried about rickets. What’s going on?

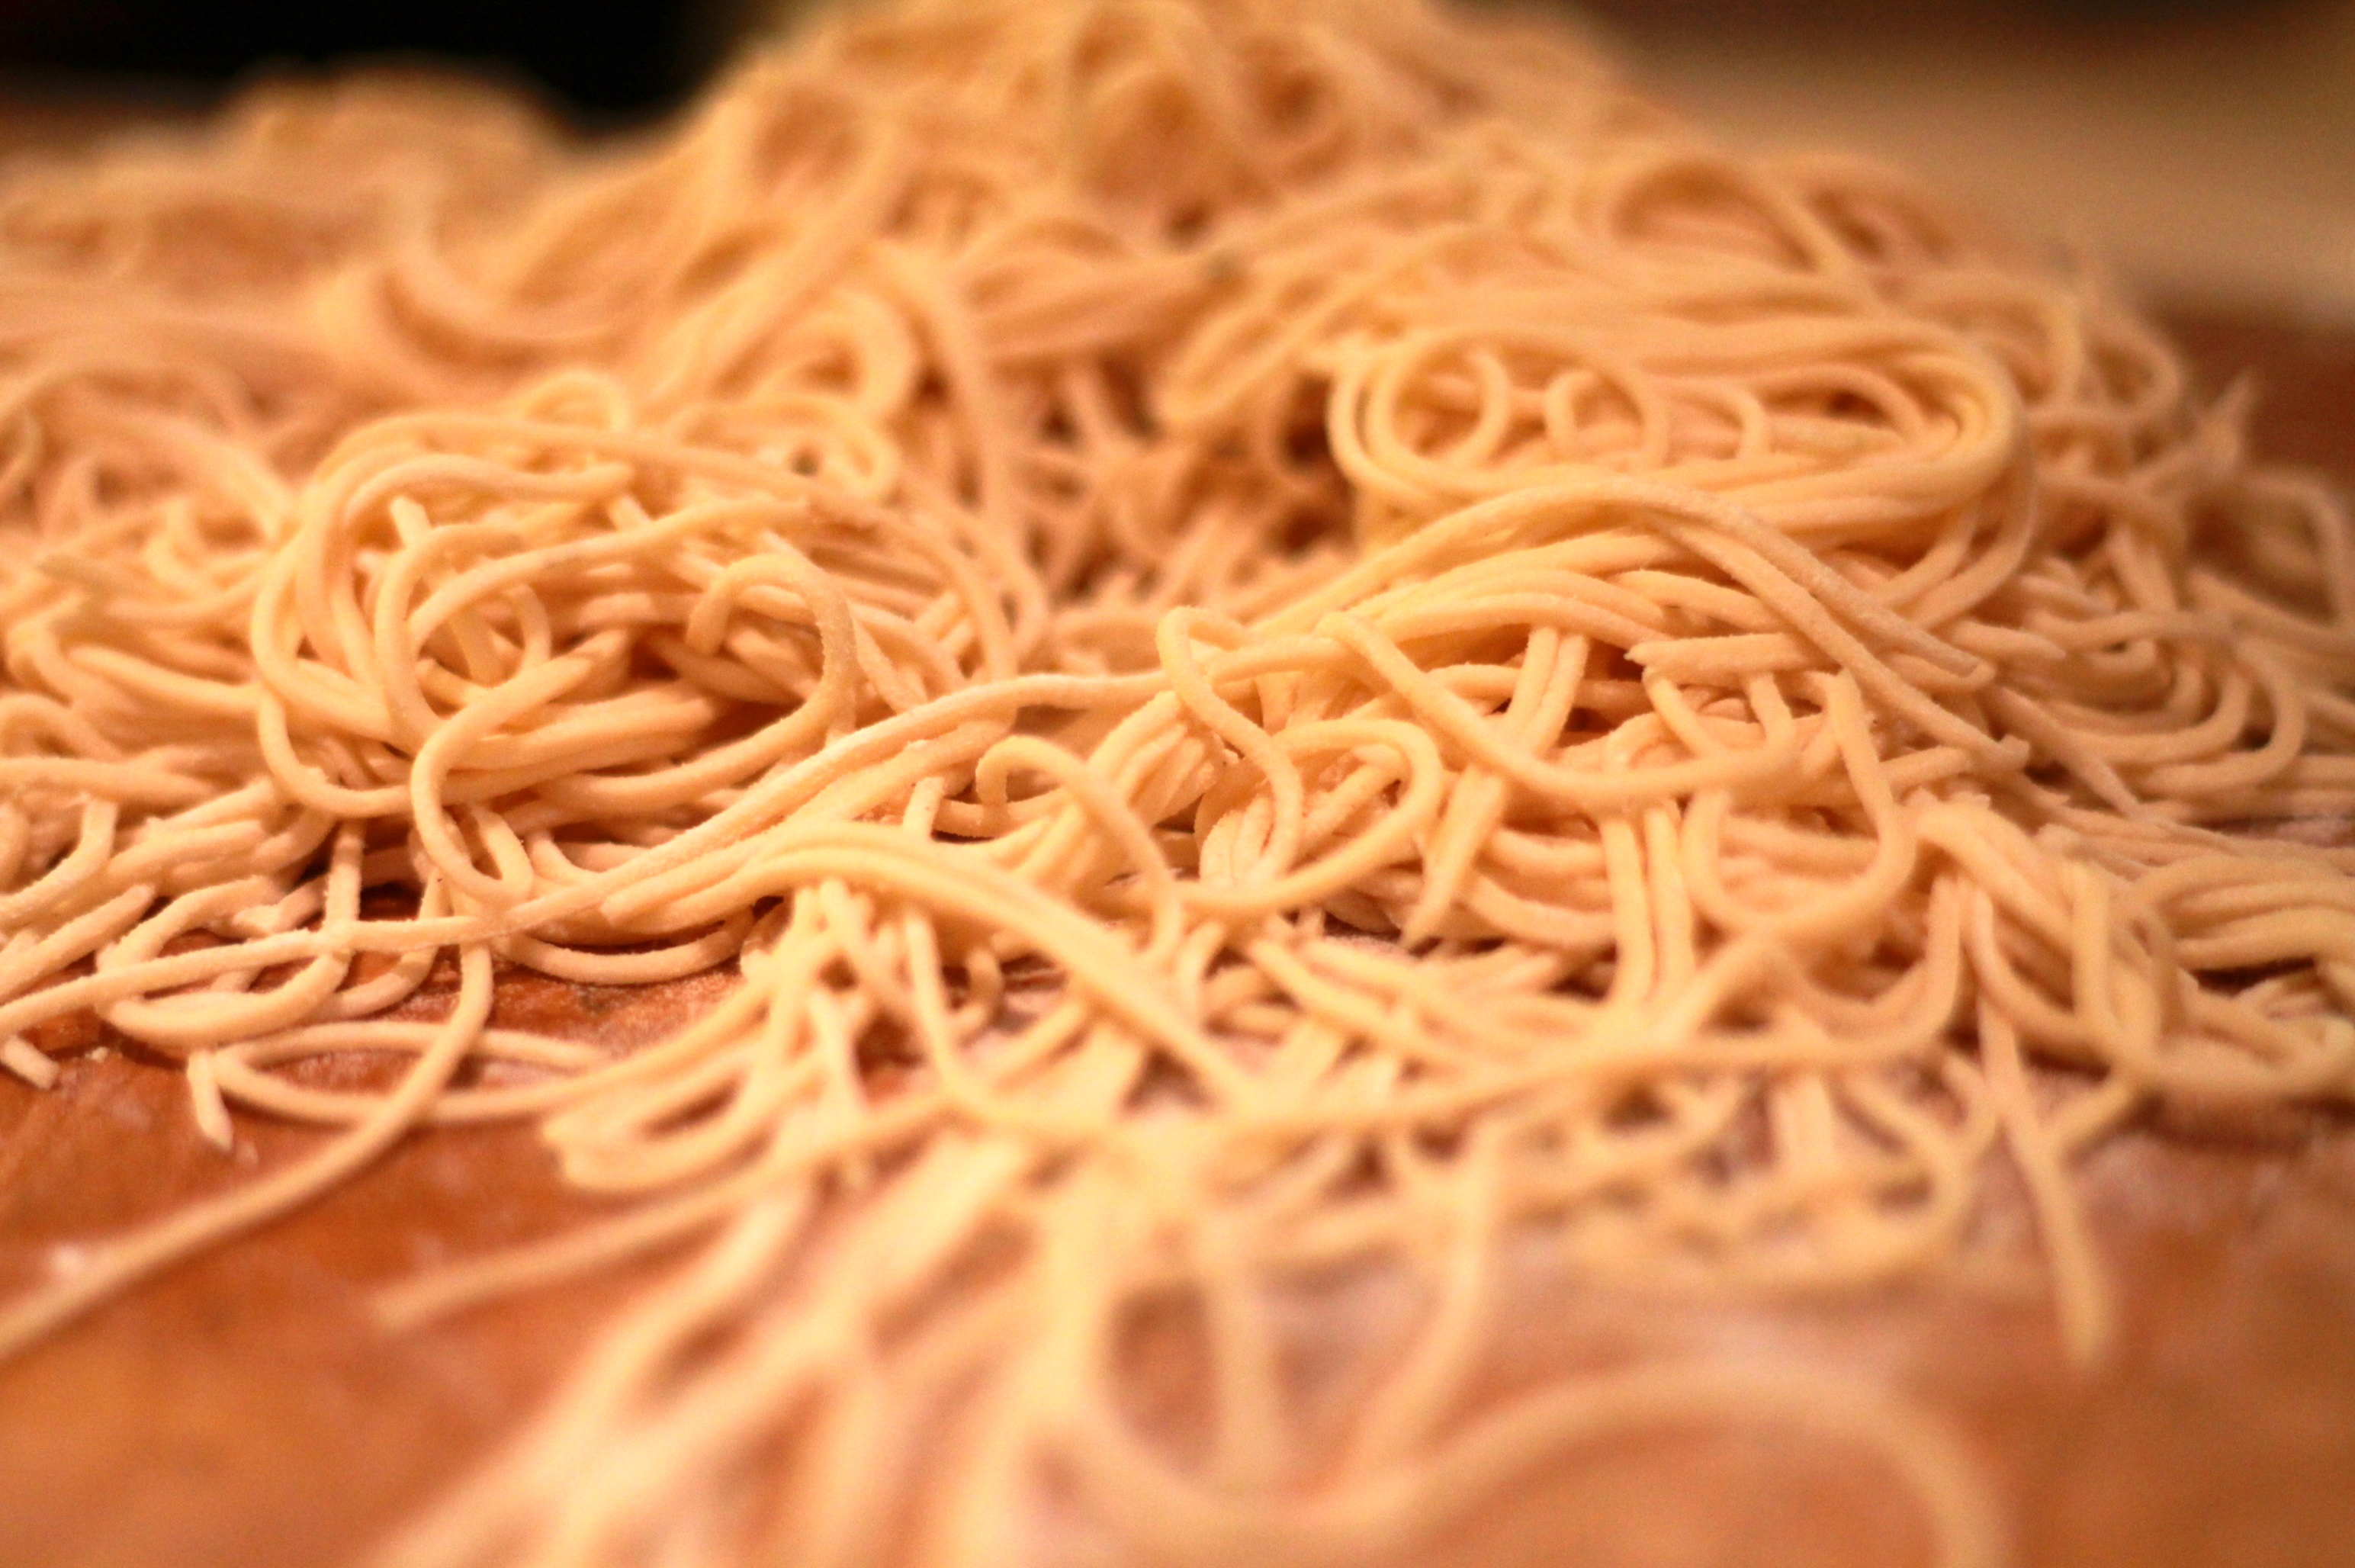
As a compromise, I made this big pappardelle dish recently. Hearty but hinting at holidays in Northern Italy, it succeeded in cheering me up no end.

It started with the distinctly un-Italian Cumberland sausage, which bar a few key ingredients is actually fairly similar, being made with plenty of herbs and a coarse texture. I filled in the gaps in this with some roast and ground fennel seed, dried chilli and gently fried garlic to give it that familiar Italian taste

I finished it off with some light single cream, finely sliced sweet red peppers and a good handful of grated parmesan.

Big flavours resulted and I felt both ‘comforted’ and slightly less like hibernating. Now if only we could dislodge this pesky anti-cyclone – over to you climatologists…

  • 200g Pappardelle pasta
  • 3 coarse pork sausages, Cumberland if you can get them
  • 1 tbsp fennel seed, dry roasted and ground to a  powder
  • 1 large clove of garlic
  • 1 tsp dried chilli flakes
  • 1/2 red pepper, finely sliced
  • About 200ml single cream
  • Parmesan cheese to taste
  • Salt and Black pepper

Boil a large pan of water, season with salt and put in the pasta. 12 minutes to get on with the rest….

Heat a smallish frying pan with some olive oil. Add the garlic and chilli flakes and a pinch of salt and gently fry for a few minutes. Meanwhile, remove the sausage skins. Add the sausage meat to the pan with 1-2 tsp of ground fennel seed (to suit your taste) and brown well.

Add the peppers and soften for a few minutes more. Check the pasta, should be nearly there.

Lastly, pour in the cream and simmer to reduce a little.

IMG_7122

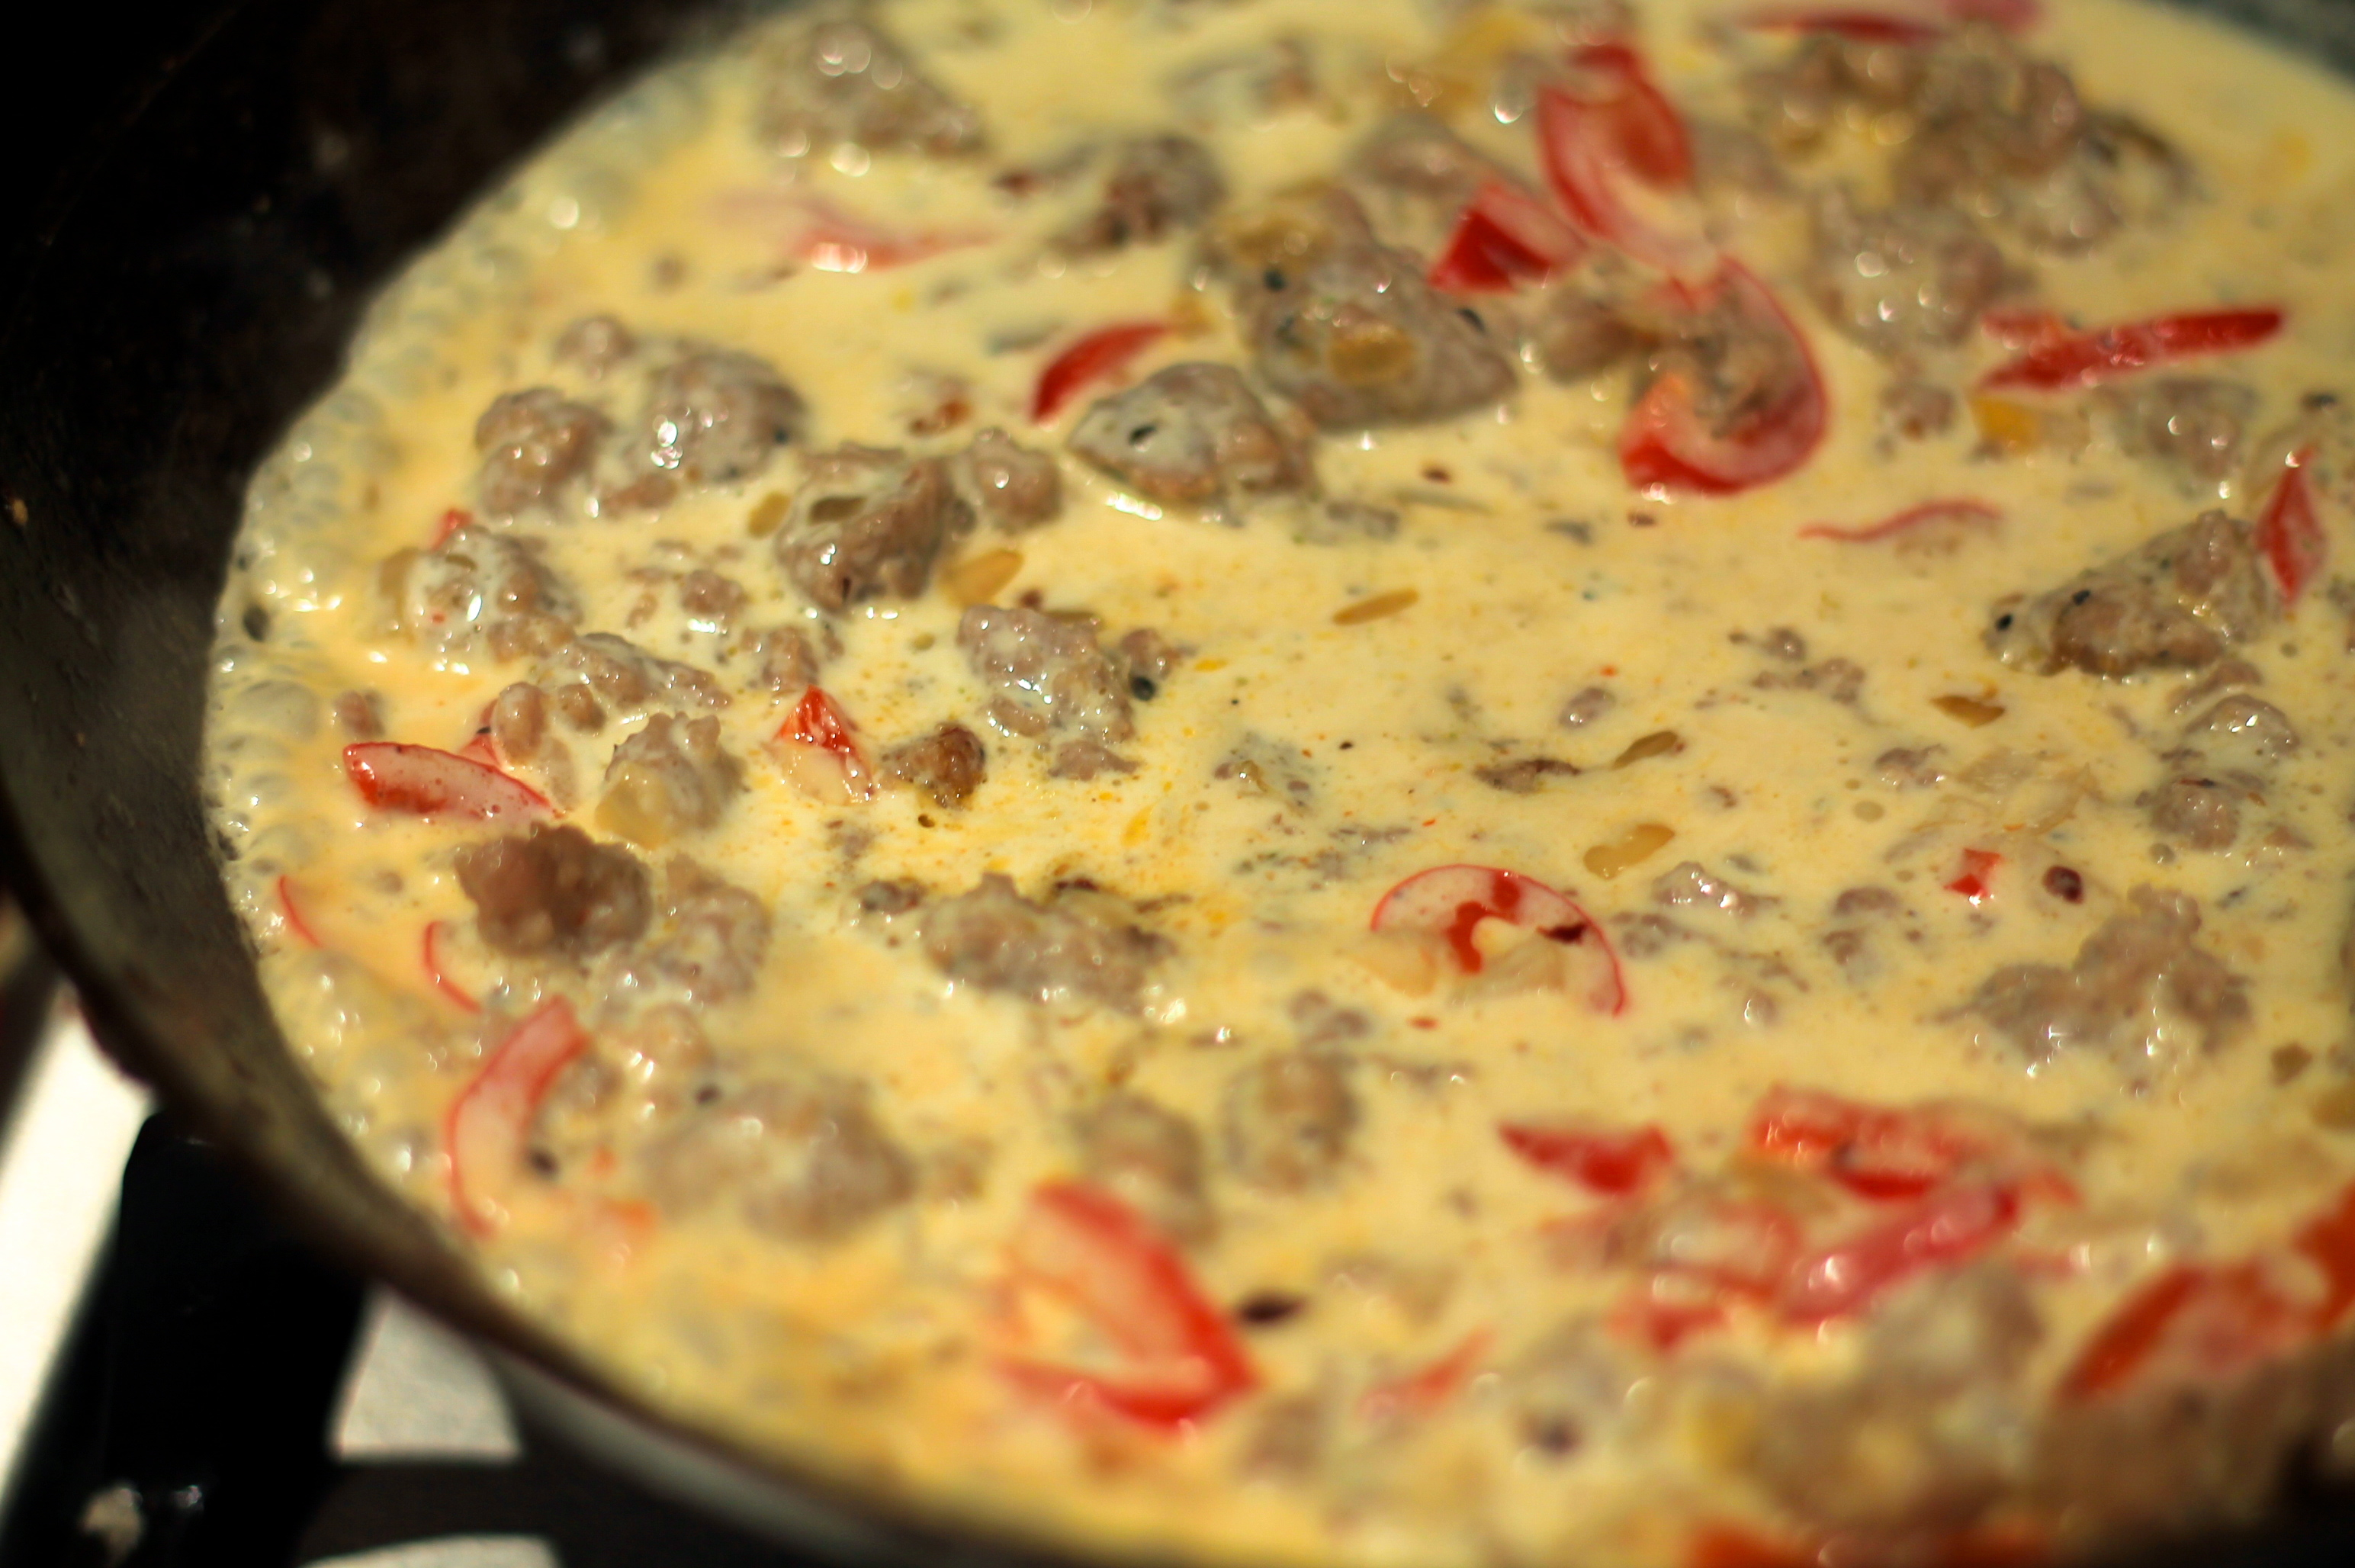
Stir in a handful of parmesan, taste and season if necessary.

Drain the pasta and serve it up with the sauce on top (or mix in together in the pan..) and a good twist of black pepper.

IMG_7138

Advertisement

Pici Pasta and Tomato Sauce

A few years ago now a group us went  on a trip to Tuscany, staying in a hillside villa. It’s a fantastic place, full of history, beautiful villages and enormous elaborate churches. Lots and lots of churches in fact.

As has been typical for many of our holidays, the weather was terrible on arrival. We’d packed summer gear but on arrival the locals explained (graciously, in English) that it was the worst weather they’d experienced for about 15 years. But, thankfully,  the weather did perk up though and we got to visit Pisa, Florence, Sienna and Montepulciano, a fabulous little town with great wine shops doing a roaring trade in exports. It was on the way to Montepulciano we stopped at a cafe in a small roadside village. Full of locals, it was just the sort of stereotypical place I expected to see in Italy. A mis-match of furniture with chequered paper table covers and constant exuberant chatter of the locals. Just my kind of place!

Being a huge fan of Italian food, I could have tried the entire menu, but I ordered Pici pasta, a Tuscan ‘specilialty’ the roughly translated menu read. It’s basically spaghetti with gigantism, being (typically) hand-rolled lengths of pasta. This gives in an uneven thickness as a result. It came with an excellent meat ragu sauce and was delicious, in fact I was tempted to go for seconds.

I was pleased therefore to find some recently in a local deli. It was machine made and had none of the endearing ‘wonkiness’ going on but was close enough for me!

I tried to keep it basic and made it with a simple tomato sauce and basil. It wasn’t quite as good as that spur of the moment stop in Italy of course, but it was close enough until I can return.

Serves 2.

  • 200g Pici pasta
  • 1 can of tomatoes
  • 1 large garlic clove, sliced
  • 1 stick of celery and 1 medium carrot,  finely chopped
  • 1 large onion, sliced
  • Olive oil for frying
  • a handful of basil leaves, chopped roughly.
  • About a tsp of sugar (if you need it)
  • salt and pepper to taste

The sauce benefits from being cooked on a low simmer for a while. Start with this because the sauce will wait for the pasta, but the pasta will not wait for the sauce once it’s drained!

Start by frying the vegetables (except the tomatoes) in some olive oil for a few minutes on a gentle heat until the onion is soft and slight browned.

Add the tomatoes and allow to simmer away for a good 20-30 minutes. Halfway through (before it gets too thick) I used a stick blender to make it smooth, but you don’t have to.

Halfway through the sauce cooking time, cook the pasta in a large pot of boiling salted water. It’s thick and so takes a good 20-22 minutes to cook.

Just before the pasta is ready, finish the sauce. Add the sugar if needed (I did – we don’t get the beautifully sweet tomatoes the Italians are spoiled with) and salt to taste. Stir through the chopped basil and a little more oil if you like. Take it off the heat.

Drain the pasta and return to the pan. Use spaghetti tongs and mix the sauce in thoroughly. Prego!

Pici Pasta

Homemade Pasta

Homemade pasta

I can’t tell you the tantrums I’ve thrown making my own pasta over the years. I just could not get it to work. I used a pasta machine, but the strands always stuck back together in a clump, or when I did get them as far as the pan, it turned out blubbery and unappealing.

Then there is the mess of course. I’m not the tidiest cook I admit, but the kitchen looked a disaster zone and after getting such disappointing results, I wasn’t sure it was worth it. I’m also a fan of dry pasta, being much better for the types of dishes I prefer (tomato or oil based). I gave it another go though, being a little more experienced (read: older) these days.

In theory, it’s simple of course being a mixture of flour and water, or eggs. I went for a fresh egg pasta style based on Jamie Oliver’s recipe which basically comprises 600g ’00’ flour and 6 beaten eggs. I basically reduced the amounts down to 200g flour and 2 eggs for two servings. Very generous servings in fact.

The difference I found this time though was in kneading it thoroughly – at least 5 minutes before leaving to rest in the fridge. The result was drier, much easier to cut and more importantly, much better to eat with a definite bite. It was a bit paler than convention dictates but then this is down to the colour of the eggs themselves. Next time, I’m going to try using just yolks to improve this though.

Veggie January has relaxed a bit to include fish, I just couldn’t do without. So I made a quick (low fat) creme fraiche based sauce with smoked salmon to go with it and it actually worked very well! I confess to using a small knob of butter though, essentially adding the fat that was removed from the creme fraiche, but it was a little bit ‘sharp’ and was better for it. Unlike my waistline….

Ingredients:

Pasta

  • 200g (just under a cup) ’00’ grade flour
  • 2 eggs beaten

Smoked salmon and creme fraiche sauce.

  • 2 tsp rapeseed oil
  • 1 tbsp whole capers, then chopped.
  • 150g smoked salmon
  • splash of white wine
  • 3 heaped tbsp creme fraiche (I used low fat but…..)
  • 1 small knob of butter – very much optional!
  • Salt (if needed) and black pepper.

;

Making the pasta

I used a small food processor for speed. Simplicity itself really, just blitz the eggs and flour together until you get ‘crumbs’. Then take it out and bind it together with your hands into a ball.

Then the hard bit – knead it! Five minutes minimum, but you do notice when it’s ready, becoming very smooth and pliable. Wrap it thoroughly in cling film and leave it in the fridge for 30 minutes at least.

Put a large pan of salted water on to boil now as it may take a while.

I used a pasta machine to roll it out, starting at the widest setting and finishing a number 2. To make it more manageable, I split the dough in two. Use a little flour to prevent the sheets sticking.

Rolling pasta

After the first roll, it’ll be a long oval shape, so just fold it up, like you would a tea towel and put it back through. It’s tricky but practise makes perfect I’m guessing.

Finally, I used the smaller cutter on the pasta machine to make spaghetti sized strands. Technically I believe its spaghetti alla chitarra (thank you Wiki), being square rather than round, but after cooking you can’t really tell.

Cutting pasta

At this point I recommend you make the sauce, as the pasta cooks in a couple of minutes:

Simply fry the smoked salmon and capers in the oil in a small sauce pan for a minute then add a splash of wine. Reduce it for a couple more minutes and stir in the creme fraiche. Heat through and season with black pepper and salt if it needs it – the smoked salmon was salty enough for me. Stir in the butter if you want to ;).

The water should be rapidly boiling so drop the pasta in, separating it with your fingers as you do. Stir well with a spaghetti spoon to ensure they stay separate. It’ll only take a couple of minutes to cook and slightly underdone is much better than well overdone so you need to keep attentive.

Once done, drain it and return to the pan. Stir in the sauce and mix well with the spaghetti spoon.

Sphaghetti with smoked salmon and creme fraiche

;

Linguine with Peas Pancetta and Pangriata

It dawned on me today that despite it being my favourite cuisine out there, I’ve yet to post anything to do with Italian food. Mama mia…..

I think it may be to do with the fact that Italian food, particularly pasta, has become almost the ‘norm’ in this house and therefore I didn’t think it worthy of broadcasting to you all. A schoolboy error!

I love a good tomato sauce as much as the next frustrated chef, but I prefer pasta like this, simply but robustly flavoured. I’ve combined some pancetta cubes with sweet garden peas, chilli, lemon, fresh parsley and a background umami boost of anchovy fillets. You can leave the latter out of course as I admit they are a bit of a love me/hate me ingredient.

Pangriata is another example of the Italians making something delicious from something ordinary. Seemingly a replacement for the more expensive Parmesan (or is that an urban myth?), I prefer it in many ways for the crunchy texture. It can be tweaked and flavoured to suit the dish, but here I made it simply using a garlic infused oil and parsley. If you don’t have any, regular olive oil with finely chopped garlic and your choice of herbs is the default route for making this.

The recipes here is for two people, but can be easily multiplied up for more servings.

Serves 2. Prep and cooking time – 20 minutes.

Ingredients:

  • 150g linguine
  • 2 tbsp cooking olive oil
  • Extra virgin olive oil (to finish)
  • 100g frozen peas
  • 100g diced pancetta (or lardons/chopped streak bacon)
  • 4 anchovy fillets
  • small glass of white wine of white wine (optional)
  • 1 tsp flaked dried chilli
  • Zest of a lemon
  • 1 tbsp chopped parsley
  • Ground black pepper to serve if preferred.
  • Salt

For the pangriata (depending on how much you prefer)

  • 1- 2 handfuls of roughly chopped breadcrumbs
  • 1 – 2 tbsp Garlic infused rapeseed oil (or the same amount of oil fried with a finely chopped garlic clove)
  • Chopped parsley or thyme
  • sea salt

Method:

Get all the ingredients ready, including any chopping slicing or dicing you need to do.

Fill and boil the kettle.

I make the pangriata near the end, with a bit of multi-tasking, but if you prefer to do one thing at a time, make the pangriata first: simply fry off the breadcrumbs in the garlic oil, a good pinch of salt and some chopped parsley or thyme. It won’t take long to be golden and crispy. Remove from the pan and set aside (preferably somewhere warm).

Next, add about a tbsp of salt to a large pot and pour over the freshly boiled water. Get the heat on until it starts to boil.

Put the peas in the pan and simmer until warmed through for no more than a minute or two, they’ll be cooked further later. Remove with a slotted spoon and keep to one side in a bowl. You can do this in a separate pan of course, but it saves on washing up!

Turn the heat up to get the water to a fast boil and add the pasta. It will take about 11 minutes so time to get moving with the rest.

In the same frying pan you made the pangriara, add 1 tsbp of regular olive oil (not the good stuff, it’s a waste as you won’t taste it) and fry the pancetta, flaked chilli and garlic briskly until well coloured – about 2 minutes – on a high heat. Add the anchovies and mix thoroughly, they will dissolve into the pancetta.

Add the white wine and peas and reduce for a minute or two.

Add a few tablespoons of the pasta water to the sauce to loosen it up. Taste and add more seasoning if needed but it shouldn’t (pancetta and anchovies should be more than enough). Stir in the chopped parsley and lemon zest.

Check the pasta which should be pretty much ‘al dente’ by now and ready to go. Drain, reserving a little of the pasta water, and put back in the pan. Stir in the ‘sauce’ using tongs or a spaghetti spoon to mix thoroughly. Add a little more pasta water if too dry.

Plate it up in pasta bowls, drizzle over a little extra virgin olive oil and top with the pangriata.